
10 Secrets in Adobe Lightroom that Pros not be Share
Have you ever thought that when a professional photographer explains the features of Adobe Lightroom to you, many of these features are very simple and of course, you will get bored listening to these simple features!! But I will tell you in this article 10 Secrets in Adobe Lightroom such features that no photographer has told you. Moreover if you Lens Blur Panel in Lightroom you can easily read it. By using this you can improve your photography workflow a lot so read this article carefully it has been explained in detail. Now let’s start with our article.
4.9
APPROVAL
10.3.1
VERSION
Step no 1 (Use Moody Photos)
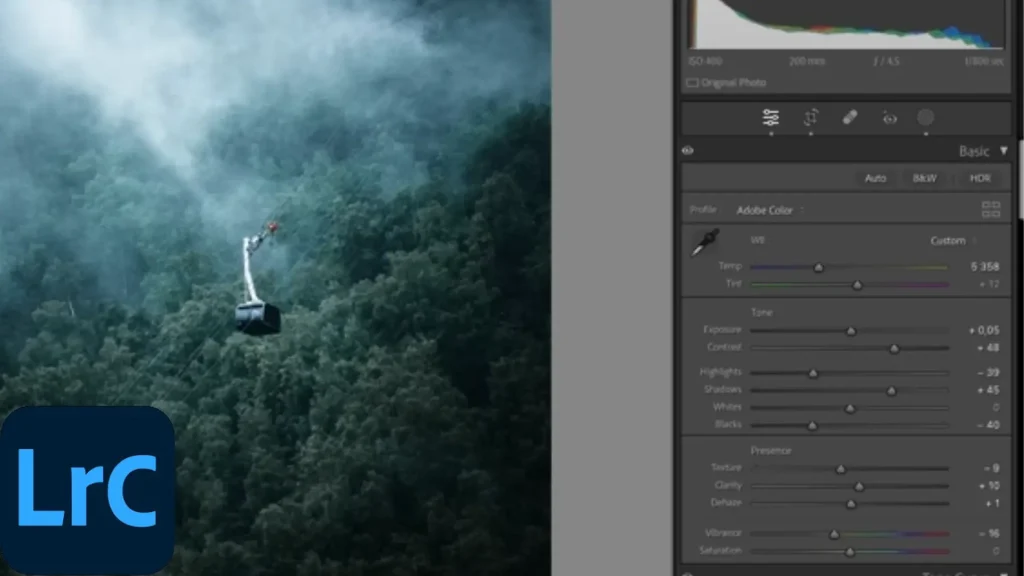
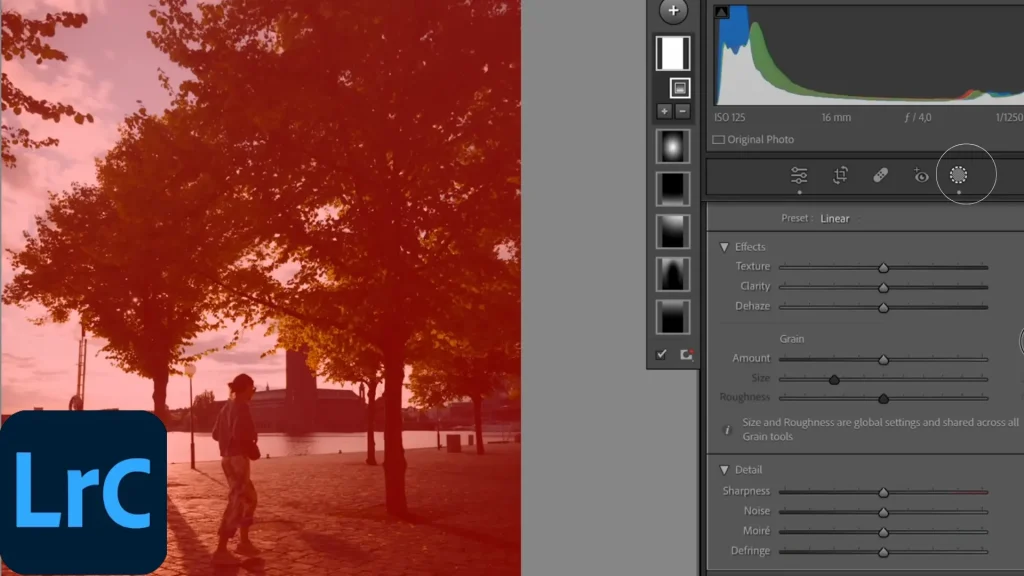
With a Moody Photo, in Adobe Lightroom classic you can see right here but we want to make it a little bit more moody and foggy to bring out that fog and moodiness that is so beautiful when you are working with photos. You can see that the mood and fog is coming in here. See also pro-Lightroom.
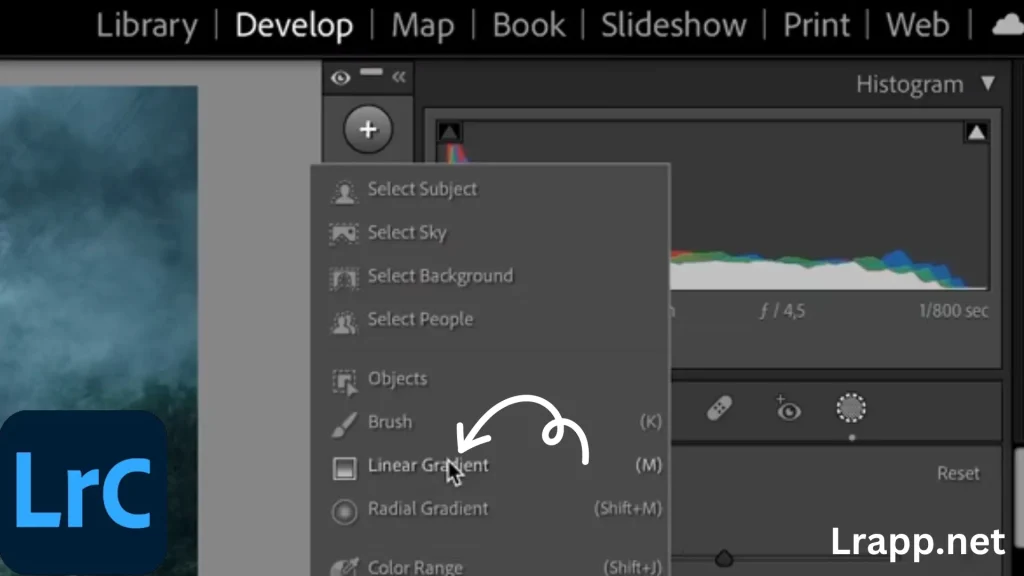
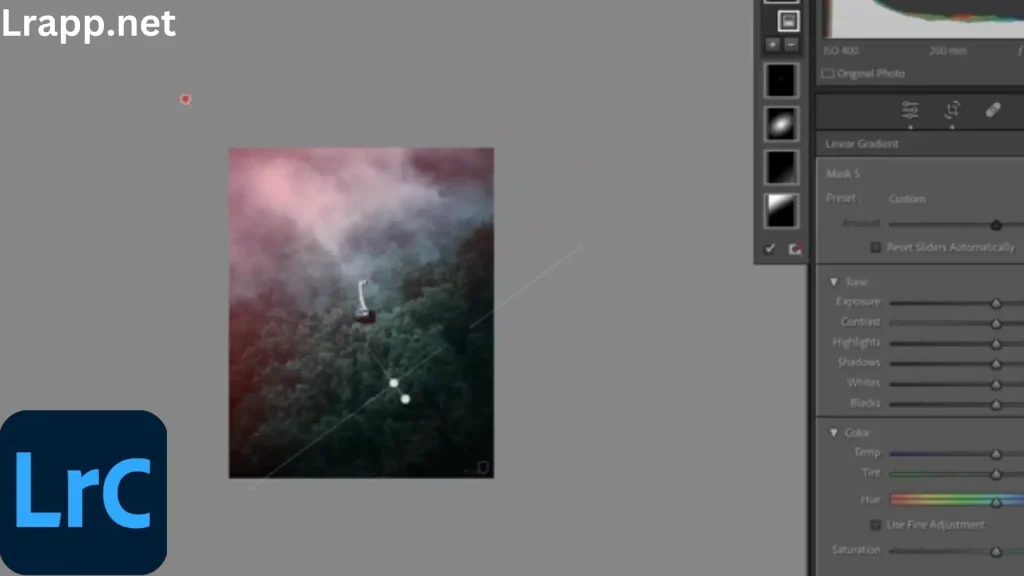
Simply click mask go plus and we add a linear grading filer. I drag it down something like this here now it’s up to you how much you want to take it over the subject by uh in my case we can do it something like this here all right. See also Remove Objects.
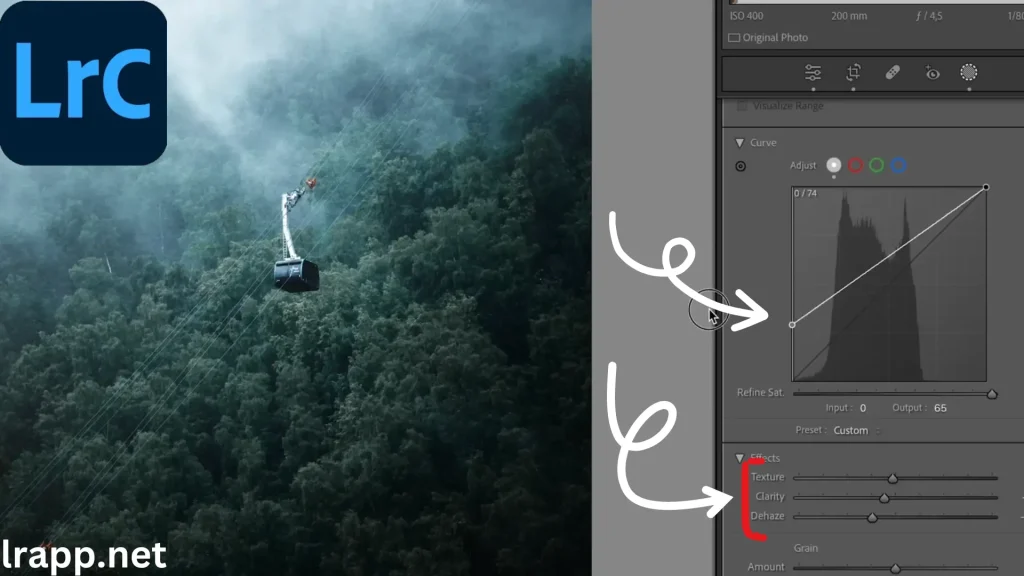
Moreover on the other hand you can scroll down and easily use three effects that are Texture, Clarity, and Dehaze. I added take down the dehaze it makes this misty effect. But can’t do too much cuz that was a little bit too obvious but we take it down ever slightly then down with the clarity to soften it up. You can even take down the texture and then the cool thing that you can also do is with the tune curve. We can take up the blacks the blacks are not black this makes it a little bit gray and adds this fade to it.
Step no 2 (Adobe Lightroom Easily Set the Photo)
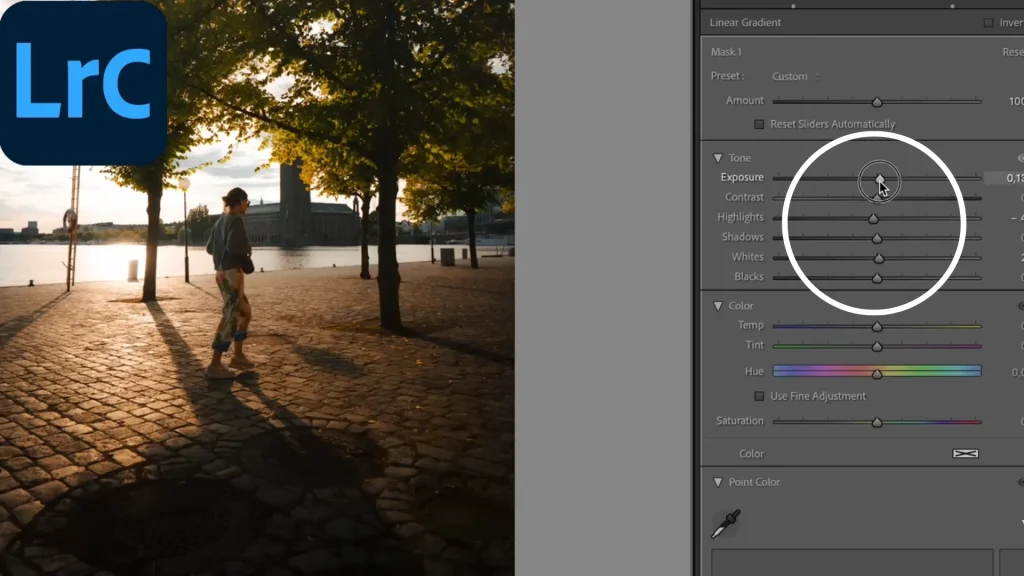
This step is my favorite because I am working with this photo it like perfect to do it here because we are backlit. What I would know if I created a mask like this linear gradient is just to click the mask setting and select the linear gradient. So I am covering the entire Photo this is good.
Then I would like to drag down the clarity and I am softening the entire photo softening the highlights down with the texture a little bit down with the dehaze just ever so slightly and I would even take up the exposure just a tiny bit up with the whites tiny tiny bit up with the highlights just a little bit.
Step no 3 (Lightroom Classic New Slider)
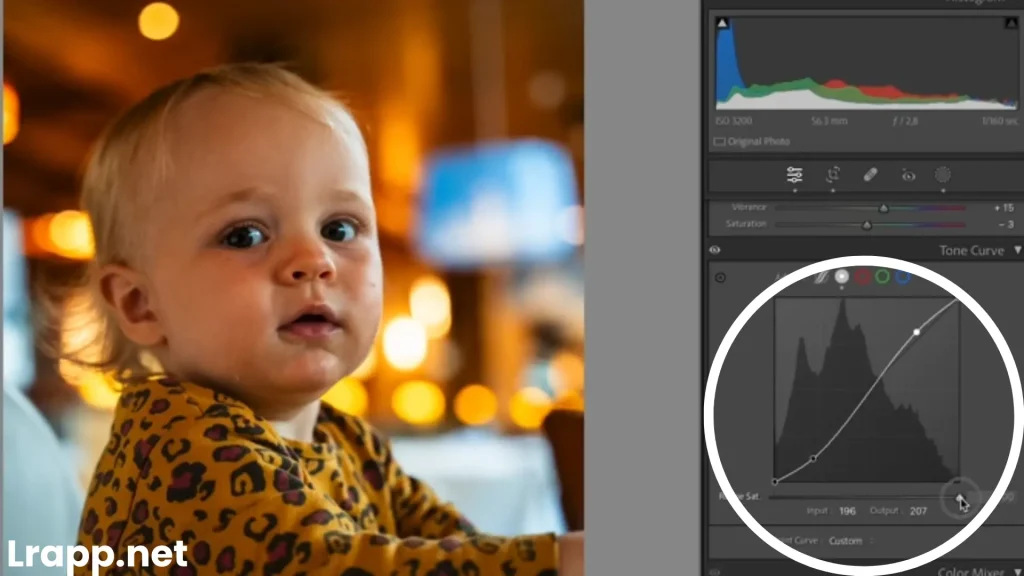
A new slider that I think is such a nice addition to Lightroom and all the magic that we can do here and it’s this so in the tone curves I just create a little S curve like this we can do down with shadows then we can take up the highlights making a big contrast. Now When you do this you will see that you get a lot of contrast but also the colours you get a lot of punch in the colour and they become saturated especially the orange colour. You can see right here that the new SL I am talking about and this refined saturation are down here.
You can now play with the saturation as well in combination with the tuning curve. If you drag it down you can see that the photo is not as saturated so the contrast that you are making with the tone curve is not affecting saturated as much which I think is a beautiful addition.
Step no 4 (Use Ai Sky mask)
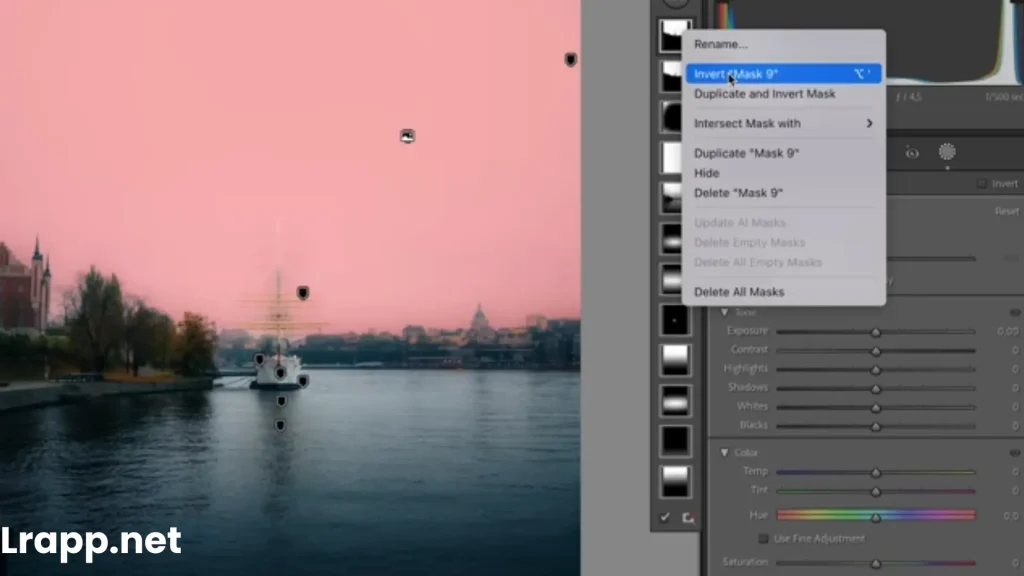
Number four speeds up my work process hugely and that is this I am looking at this photo and I click mask then press the plus and then click the sky.
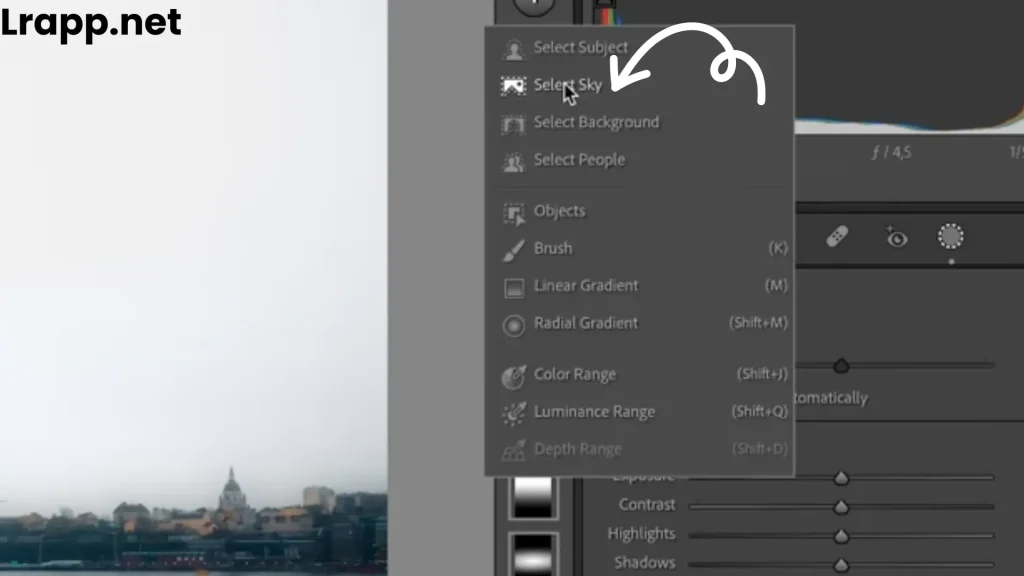
Now this is not the tip Although this is like Ai sky mask it’s pretty sick. It also speeds USP my work but wants to do is that I want to select the entire foreground usually in the past just did a painting and brush but what I can do with the sky mask is just to simply click it and then invert a beautiful mask that is affecting me.
Step no 5 (Utilize 28 Different Presets)
(Step no 5): is honestly something that is almost too good to share When I Learned this technique it took my editing skills like instantly not even kidding to new heights and I’m going to show you. First I just want to show you guys that I recently made brand-new preset packs with over 28 different presets that I used to edit my photos and all the things you see posted on social media Now I think that is pretty smart how I have organized it to have the creative presets which are more of these stylized that are aimed to do like.
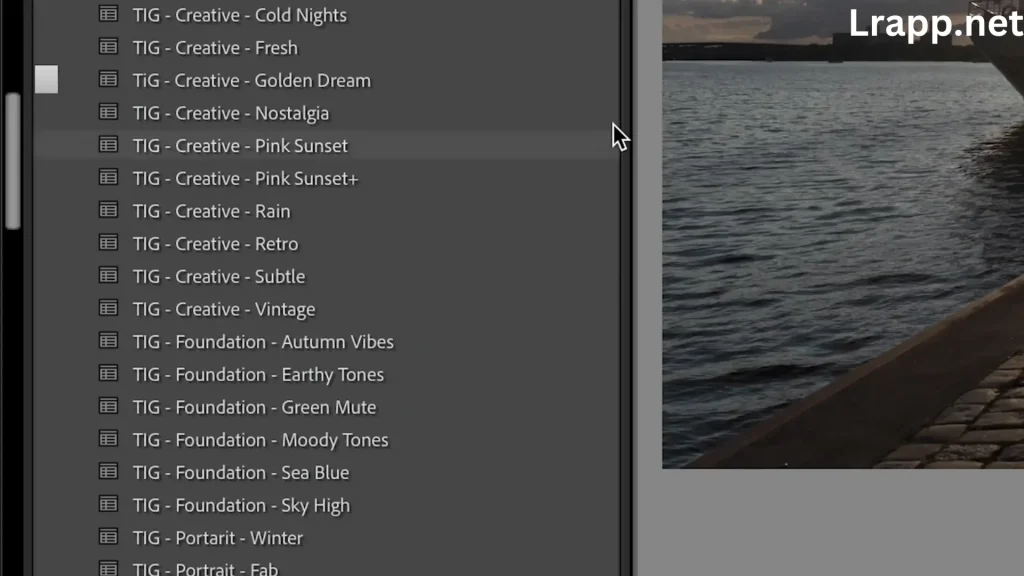
This not may be on Click Wonder I don’t believe presets are to use that but more stylized presets that are aimed to do like this not may be one click wondered I don’t believe presets are to use that but more stylized look then I have the foundational presets which I use more to set a base tone. Similarly, you can alternately check out 28 presets, which include winter, summer, and more presets that you can utilize Secrets in Adobe Lightroom.
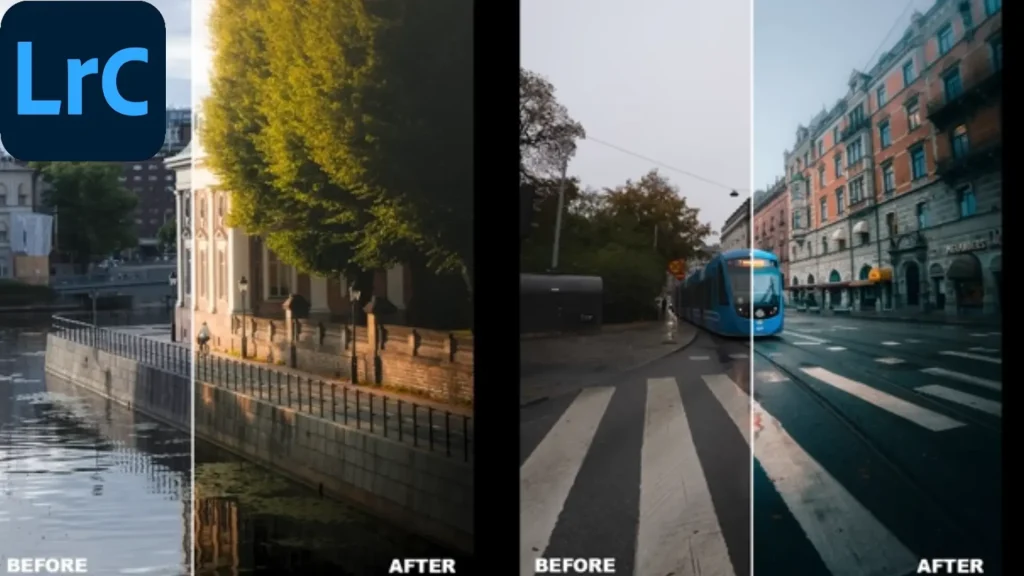
Step no 6 (Sunset Environment)
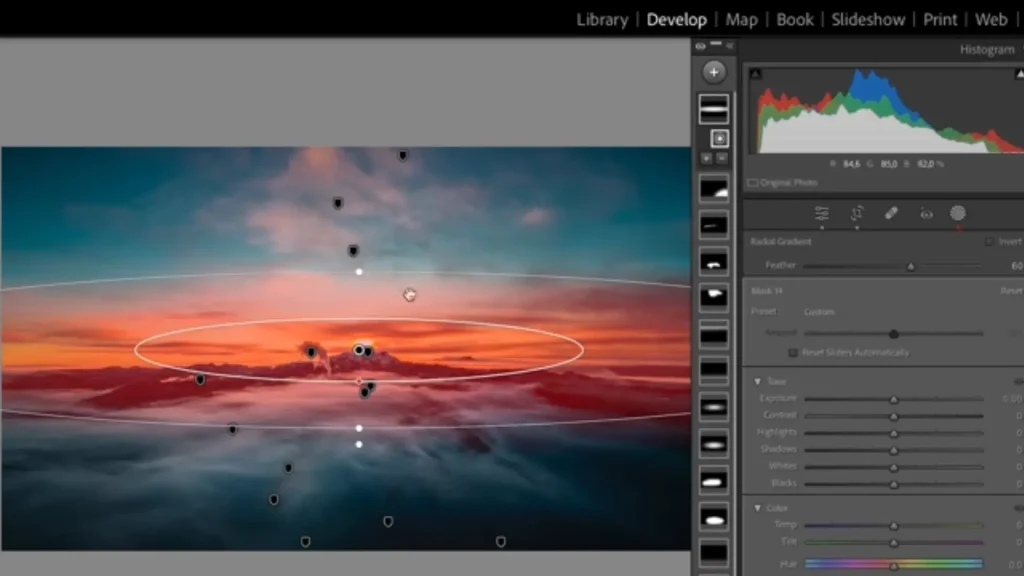
(Step no 6) I am working with a photo like you see here what I like to do is click the mask plus go to a gradient filter and then I a lot of masks on this photo as you can see I like masks a lot that is not a secret but I make a mask like this and I aim to put is just it on the sunset itself and this is great when I’m shooting into the sun a beautiful like in sunset environments. In simple words you this step and create a better sunset environment.
Step no 7 (Virtual Copies For Different Edits)
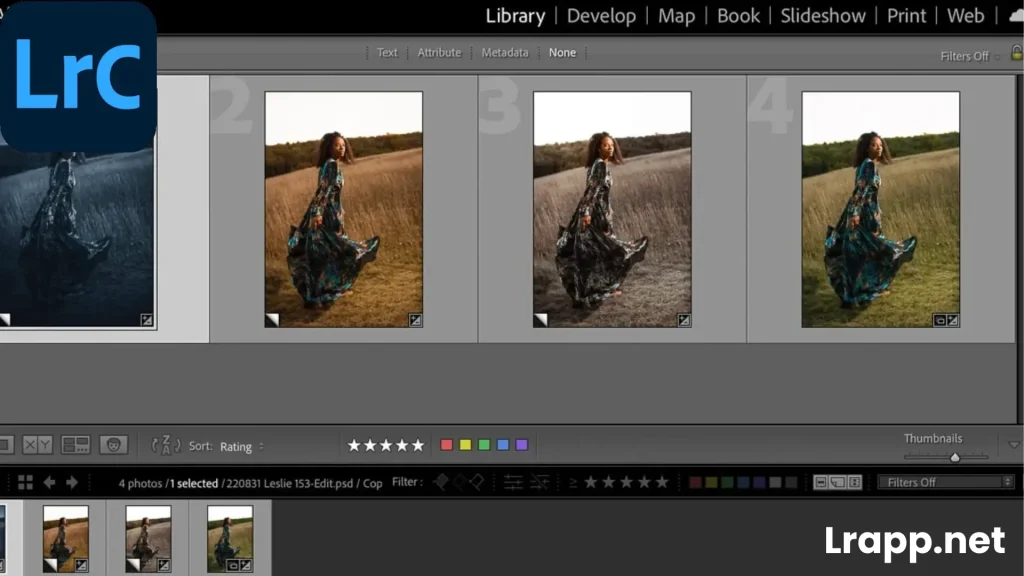
You can create copies and allow multiple versions of the same photo without copying the original file. Secrets in Adobe Lightroom is very useful for experimenting with different editing preparations for multiple outputs.
Step no 8 (Efficient Use of Keyboard Shortcuts)
Efficient use of keyboard shortcuts a proficiency in keyboard shortcuts can considerably speed up the editing process professionals often customize shortcuts to match their workflow and capability. So you utilize Secrets in Adobe Lightroom this step easily because this is my favourite. See also Adobe Lightroom’s older version.
Step no 9 (Advanced Use of the Histogram)
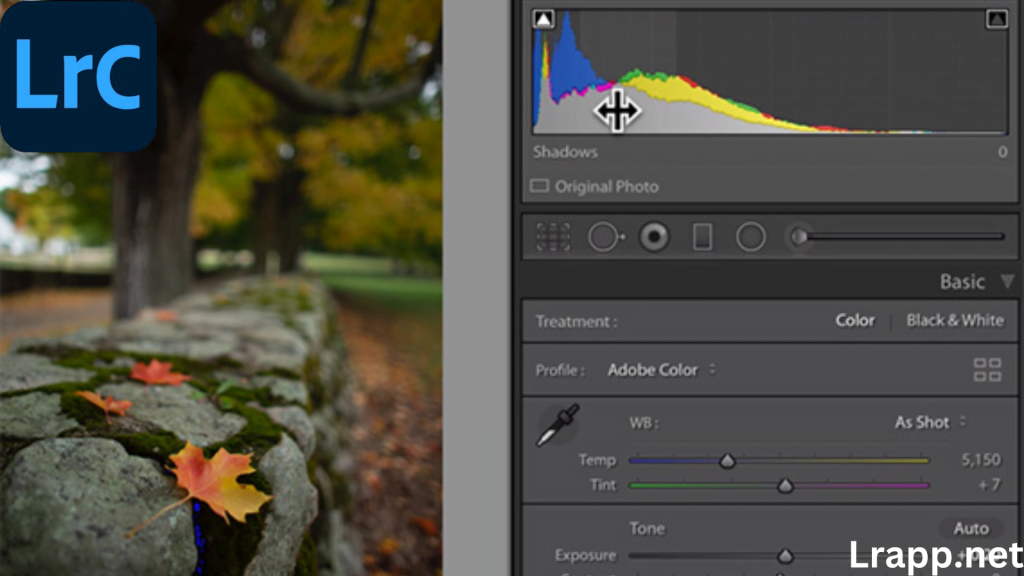
The histogram is not just for checking photo pros it is to analyze strong distribution and make informed decisions about adjustments. Secrets in Adobe Lightroom work with the histogram to ensure shadows,midtones, and highlights.
Step no 10 (Camera standardization panel for color tuning)
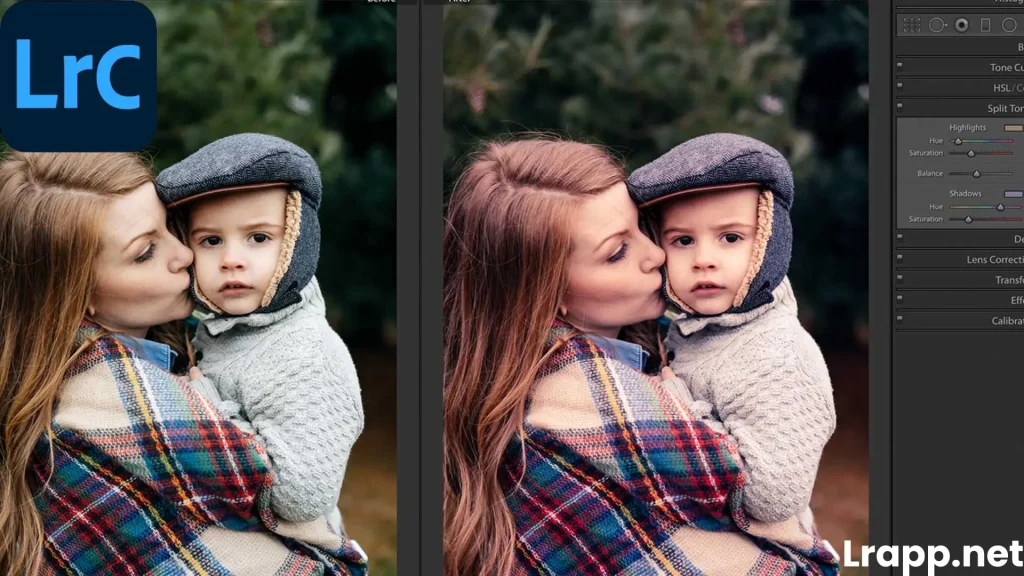
This camera Secrets in Adobe Lightroom’s classic standardization panel for colour tuning is often, but you can use it to fine-tune the base colour rendering of their images. Simple you can adjust the blue, green, and red primary sliders can considerably impact the overall color tone of an image.
Frequently Asked Question(FAQS)
Conclusion
In conclusion!! Secrets in Adobe Lightroom Many professional photographers are telling you the features of their Lightroom in so much detail, but they are very simple features, that’s why I told you in the article 10 steps that you can use to improve your Photography and Up are not shared by any professional photographers please use them all and enjoy.

I am the founder of lrapp.net, I am passionate about bettering your photography experience with our expertly crafted Lightroom mod APK. With years of experience in photography and digital editing, I aim to provide users with unparalleled tools to unlock their creativity. Join us on this journey to elevate your images and transform your editing skills!


