Culling Photos in Lightroom Classic 2025
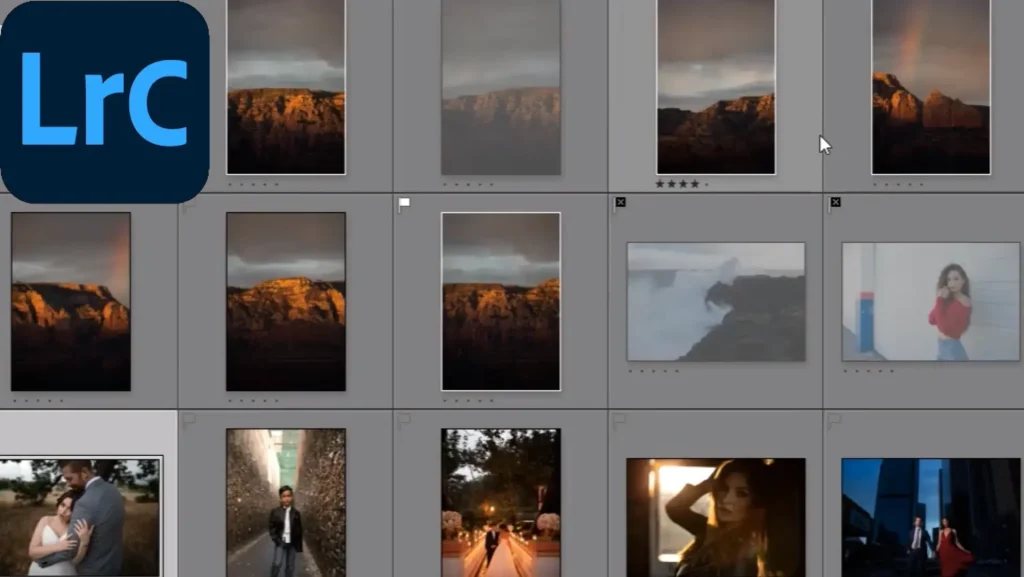
The actual usage of the collections is the process called culling, which means that let’s say you’ve done a big shoot like the example we are seeing. Then the next step usually is that a lot of time all the photos you have taken in a particular shoot may not be good right sometimes even a lot of times as funny as it sounds. See also Lightroom Make Soft Skin. You may even leave the lens caps on right everyone does that, or sometimes you know the camera just fires or your subject eyes are closed and all these things can go wrong.
So calling usually just means selecting the best photographs out of the entire shoot, which will be edited okay. Because you don’t want to edit all the photographers in Lightroom Classic. In this article, I will explore how you’ll see how collections can organize this whole process, so let’s start with our article.
4.9
APPROVAL
10.3.1
VERSION
Step1:(Go to the Lightroom Classic Under Portraits Folder)
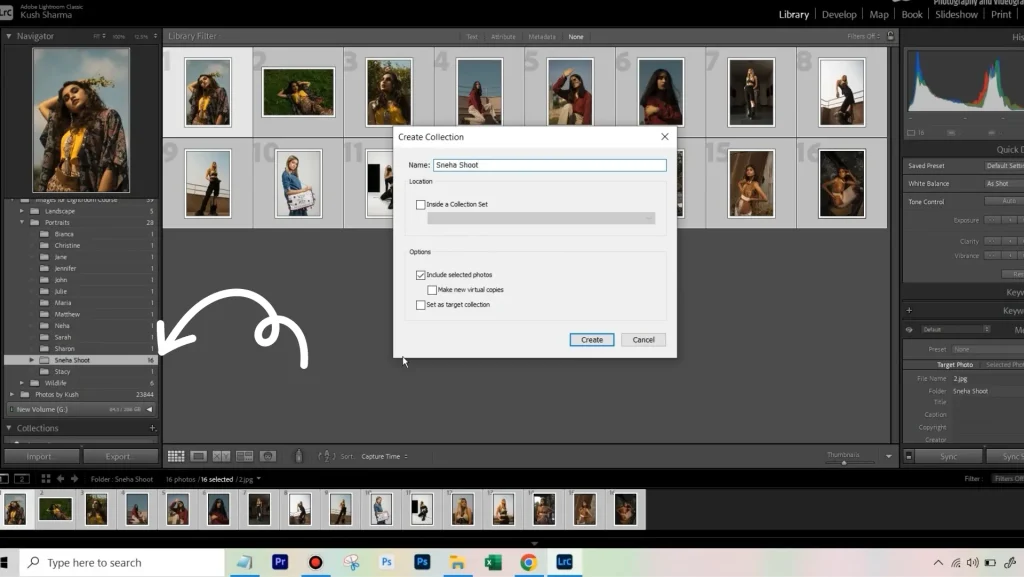
I am in the folders tab We are just going to go over to that particular shoot that we did that was under portraits here I’ll find that under Sneha’s shoot and these were the photographs that we had here you can just use folders to navigate to these particular photographs shoot. Now collection will take over because we have to start the culling process. So how do you do that first of all what we’re going to do is we’re not going to start this process from the folder because remember we don’t do anything in the folder.
So even though you just used folders to navigate we first have to form a collection. Before the first one here just click on it’ll highlighted, and then you can hold down ”Shift and select” all the photographs okay and simply go over to Collection this plus icon here and go to the collection called Snaha shoot.
Step2:(The Process of Culling Photos)
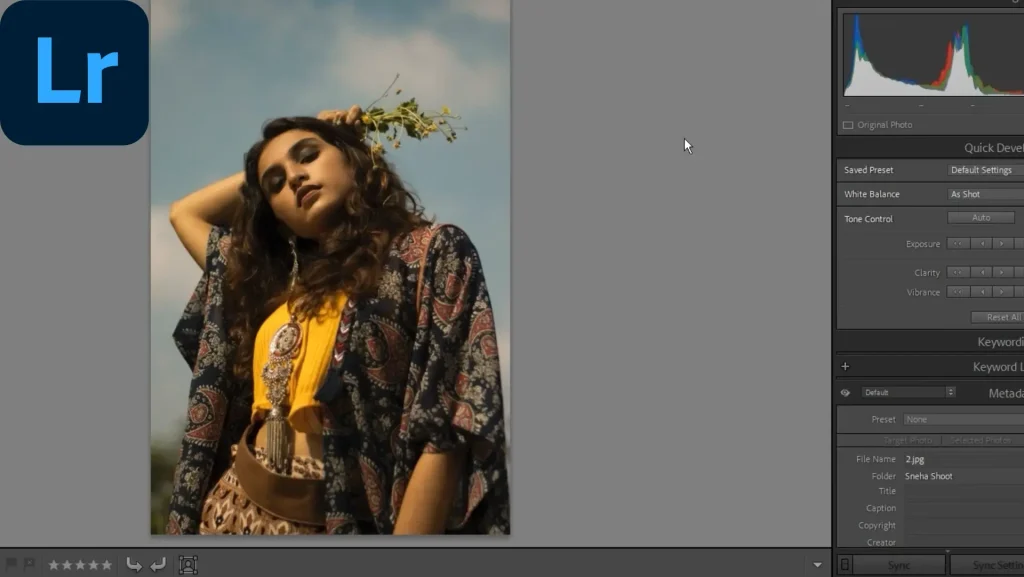
In the process of “Culling,” you can double-click on the first image so that this opens up you may notice it but right now okay there was just a little bit of lack before it kind of gave us this big-looking preview Remember when we were importing I told you either you can wait at these moments or remember during the import process we had that preview building I uh option where it said do you just want to build minimal preview or do you just want to build standard previews like a bigger preview
In that case, the importing process would have taken more time so we have selected minimal but then think of it like we are facing just a tiny bit of lag.
Step3 (Flagging and Rating)
Lightroom Pro APK provides several tools for flagging and rating photos. Use these tools to make your photos on their editing and suitability for editing.
- Press the ”P” key to flag a photo.
- Press the ”X” key to flag a photo as a reject.
- Use Star ratings (1 to 5) to rate the quantity of each photo.
Step4 (Using Filters in Lightroom Classic)
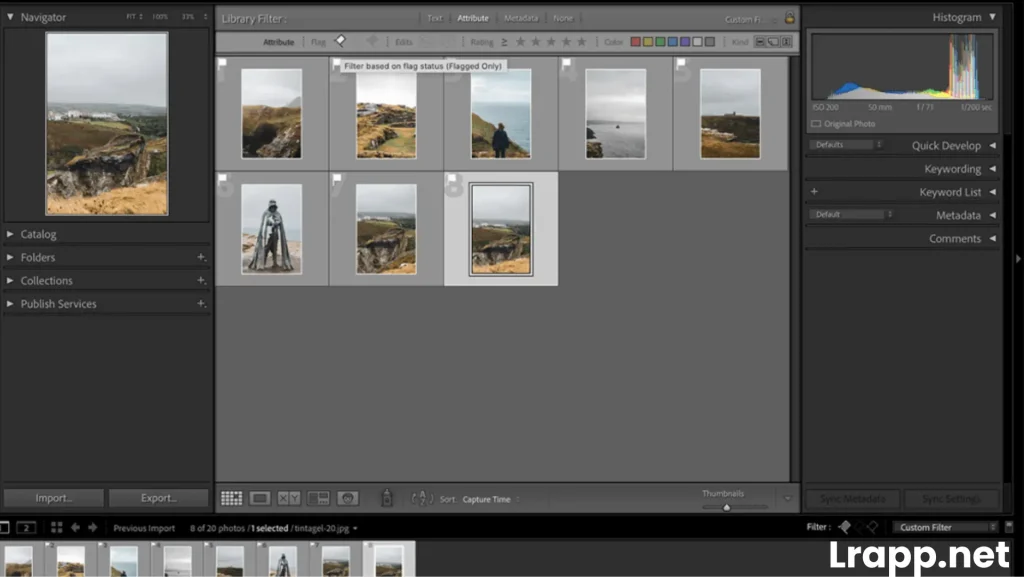
After Rating and Flagging your photos use filters in the Lightroom Pro APK to view and shorten them based on their rating, flags, or other criteria. You can use filter photos by flagged status (rejects or picks) such as metadata and star rating to capture data, flag filters, and camera.
(Metadata Filter)
Lightroom Pro APK allows you to filter photos based on their metadata such as camera settings, capture data, lens, etc. You can access these filters by clicking on the metadata filter icon the icon that looks like a little tag in the Filter bar. This will open up options to filter by improving metadata criteria. Click on the in-demand criteria to apply the filter.
(Star Rating Filters)
Comparably to filtering photos based on star ratings click on the attribute filter icon again and select the star rating option. This displays a dropdown menu where you can choose to filter by photos with individual star ratings example: (1 star, 2 star).
(Flag Filters):
To filter photos on their flag status (rejects or picks) click on the characteristic filter icon. The icon looks like an insignificant flag in the filter bar. This will open up options to filter by unflagged, flagged, or rejected photos. You can just click the desired option to apply the filter.
Step5 (Narrow Down Your Selection)
Review the flagged and rated photos again you can focus on the highest rating and best quality images. Use the sorting and filtering options to narrow down your selection of additional retail you have to identify the top photos for editing. By related images and reviewing flags, you can focus on the highest rating and best quality to utilize filtering and shorting. You can identify the top ones that deserve further editing. This step ensures that your editing efforts are concentrated on improving the most impactful images on your filter. See also Lightroom APK 2025.
.
Step6 (Using the Create Collection)
Once you have selected your best photos you can organize them into collections for further organization and editing. Simply Collections allows you to group related photos based on events, projects, and themes. To create a collection you can click on the “+” icon next to ”collection ” in the library module and finally, you can choose to create a collection.
Frequently Asked Question(FAQs)
Conclusion
In Conclusion Culling Photos in Lightroom Pro APK by using these Filtering options in Lightroom Pro APK you can quickly sort through your photos based on their star ratings, metadata criteria, and flag status. You can easily find and work with the photos you want to focus on. I hope you like our article and follow them all to make your steps to the best images. If you more detail and want to know how to Fix an Underexposed Sunset Portrait you can easily read this article just click on it.

I am the founder of lrapp.net, I am passionate about bettering your photography experience with our expertly crafted Lightroom mod APK. With years of experience in photography and digital editing, I aim to provide users with unparalleled tools to unlock their creativity. Join us on this journey to elevate your images and transform your editing skills!

