How can I Fixed Blurred Pictures in Adobe Lightroom?
You are often worried about one thing how to fix Blurred Pictures in Adobe Lightroom? Also, let me tell you one more thing editing and creating pictures in Lightroom is a big challenge. But now you don’t have to worry!! at all, I will tell you a simple solution. Also, we will explain in this Article how to repair blurry images using Repair It the greatest Picture editing program available.
However, if the blur is too powerful, Lightroom offers several tools to help correct your image. Along with this, we will discuss all the tools and steps that we can use to fix the blur effects of our image. So now we move on to our article., So that we can read in detail the factors by which we can easily end the blur effect. If you Blur a background in Lightroom then you can move this article
4.9
APPROVAL
10.5.2
VERSION
What are the Reasons Why Your Images May be Blurred Pictures?
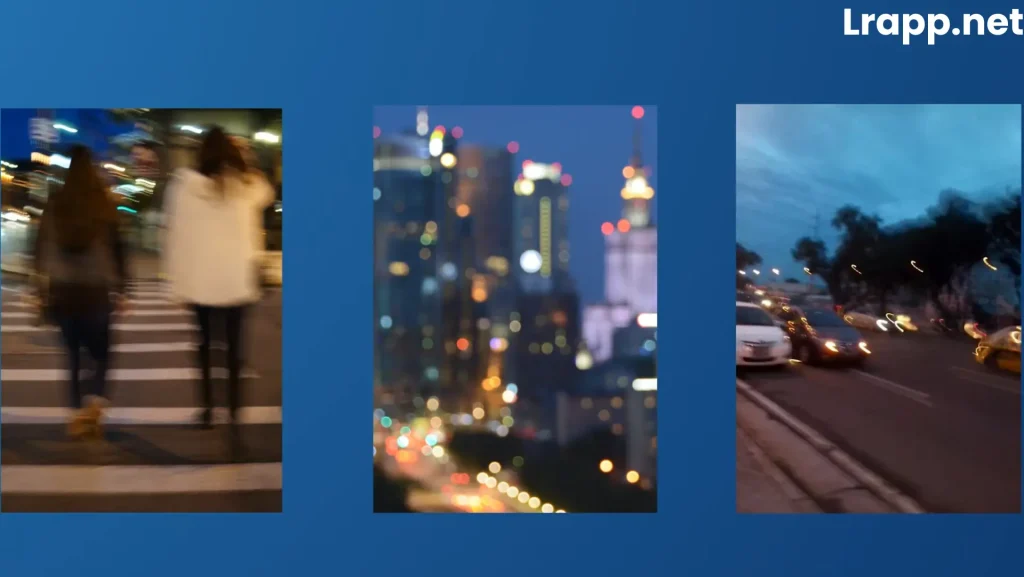
There are numerous reasons why your images may be blurry like camera moments, poor focus, and subject moments are just a few of the reasons. Lightroom is a professional editing software can can make your photos more attractive. After doing our analysis we’ve discovered that there are several ways to restore blurry photos in Adobe Lightroom. Following these 7 Methods can help you fix your photos with the Blurry effects.
Follow These Methods to Fix in Blurred Photos!!
Some simple methods that you can follow the fixed in blurred images. See also Lightroom mod APK
Method no 1 (Using Sharpen Tools)
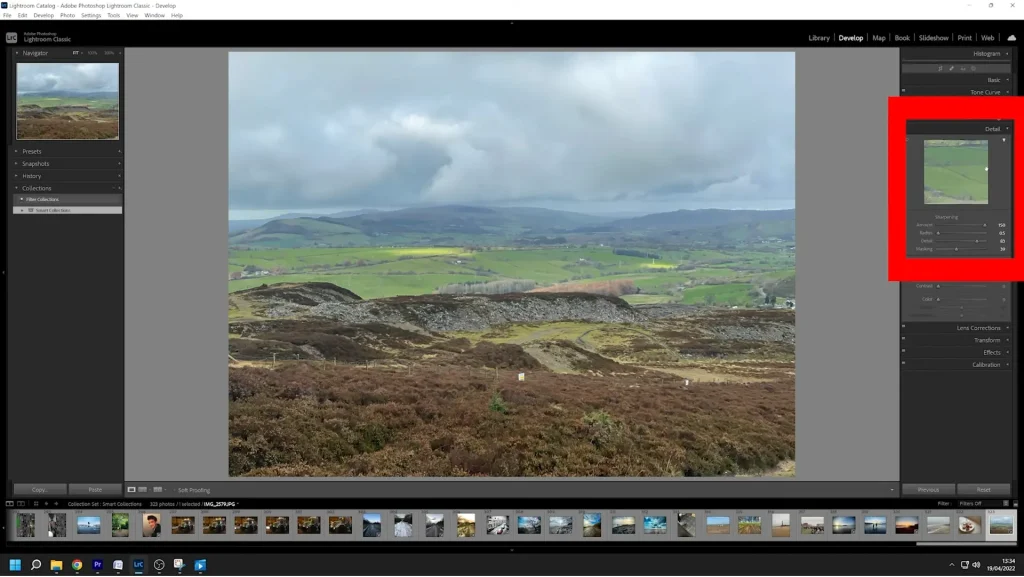
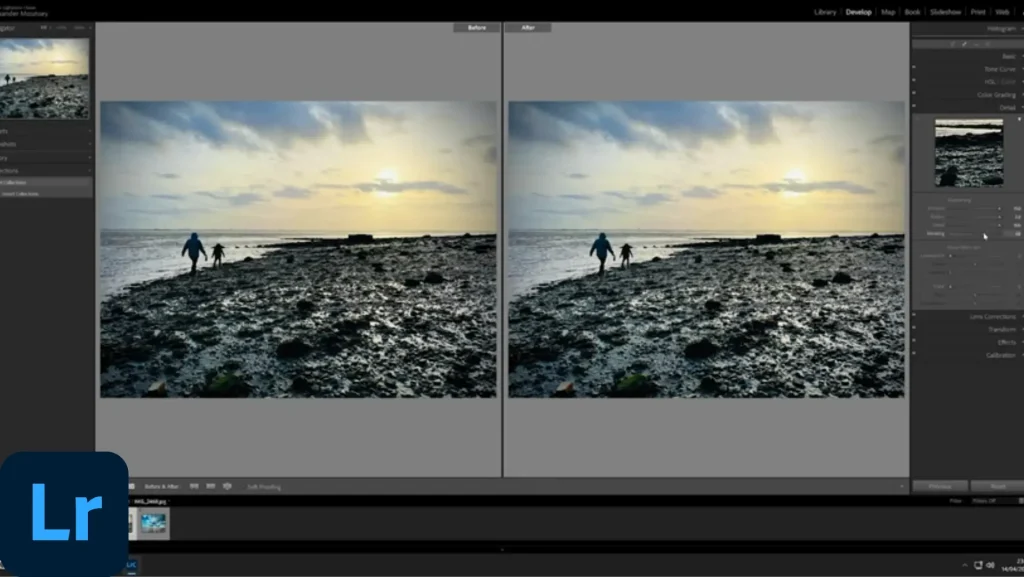
Sharpening your photos using Lightroom can assist in removing blurry details. It is a simple process that will take only a few minutes to learn and can be found under the develop tab. All you need to do is scroll down the right panel to see the details section and here you will find the sharpening tool. The sharpening tool consists of four sliders for photographers in a short amount of time. However, use carefully when using the clarity option in Lightroom
(Amount Slider)
If you wish to adjust the amount of sharpness on the images use the amount slider depending on your choice you can raise or reduce this slider and use this feature to easily adjust the amount.
(Masking Slider)
Masking is used to hide parts that you don’t want to sharpen this feature removes the noise caused by the detailed and quantity sliders while it can still be used to sharpen accurately sections of your photograph it will avoid smooth areas for example: (As skin)
Method no 2 (Using Clarity Tools)
The Clarity tool is another way to improve blurry photos in Lightroom. It is a useful option to have and very important for giving your photos that extra rise to the contrast in the mid-tones that are highlighted by the cloudy tools and using this prevents you from adding grain to the highlights or shadows. However, use it carefully when using the clearness option in Lightroom to restore blurry photos as too much use can result in abstractly tough edges on the photography when printed.
Method no 3 (Using Adjusment Brush)
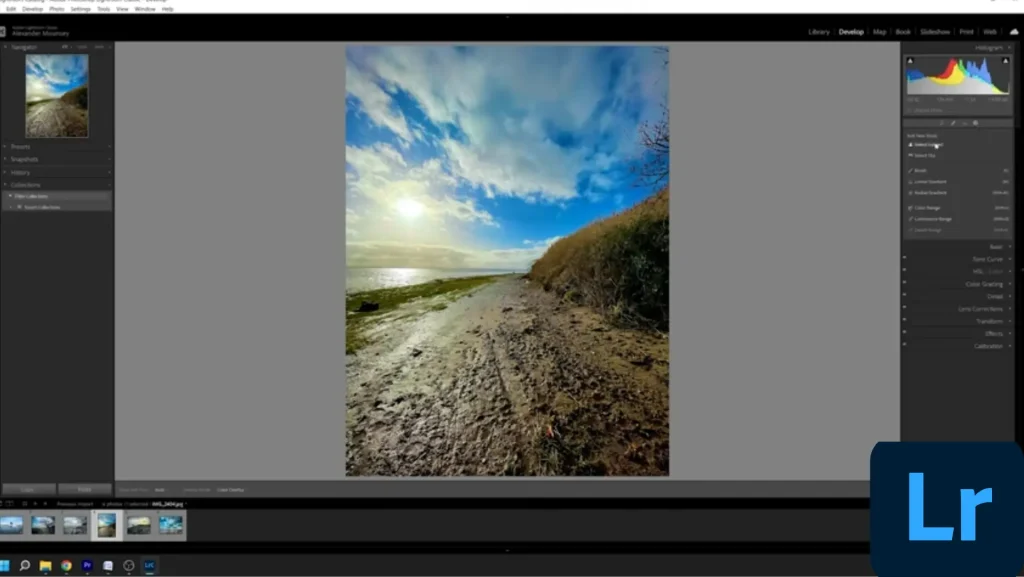
This is my favorite method of edges on photography when printed this brush is also useful for repairing blurry photos in Lightroom. If only a few sections of images are blurry the correction brush will only assist you in adjusting those particular regions. This feature also develops modules and functions similar to order Lightroom tools to use the adjustment brush you must first change the sliders in the right-hand panel.
In the developer module the adjustment brush is located beneath his flow chart you may access it by using the keyboard shortcut “k” or by clicking on its icon this shows you your effect options and you can now realize these sliders to make your own desired adjustments. If you select the adjustment to be affected you can choose the brush that features a circle with a plus icon when you’re finished brush over the regions and then click done.
Method no 4 (Using Presets)
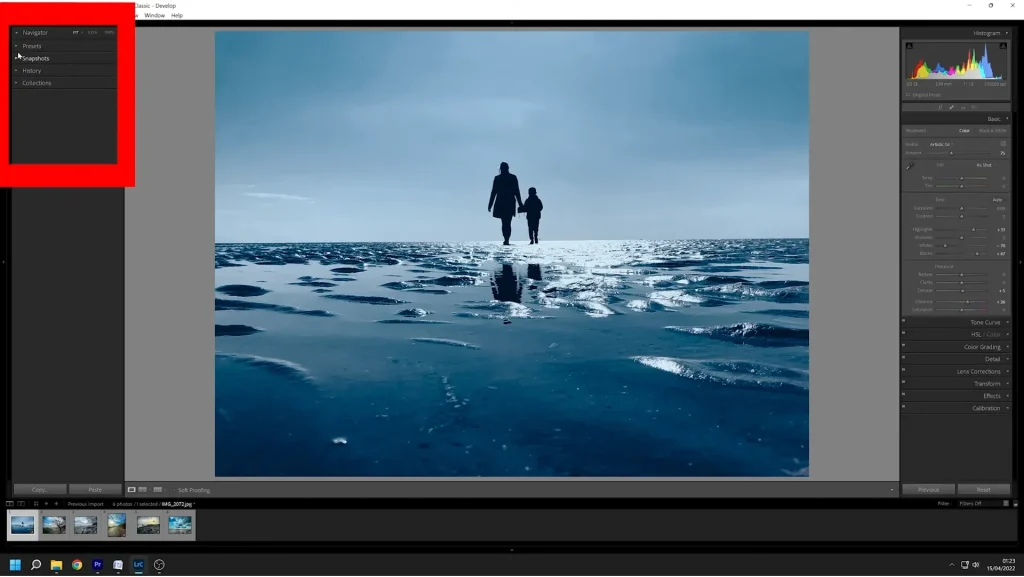
Lightroom presets are a collection of saved edits that you can utilize to save time on a project ground. Presets are great because they speed up your productivity and come in useful if you don’t know what changes to make you also have the option of creating your own presets or downloading additional ones to help you correct Blurred Pictures.
Although presets are pre-installed there are various actions you can do to use them correctly to begin choosing the photo that you want to change. Next, click the preset button and it will open up a list of presets available to you then select the presets you want to use the software will apply them to the photo. If you want to try different presets you can undo your action and try again. You can also alter the presets by selecting the various aspects of the presets and then making your changes
Method no 5 (Using the Basics and Details Panel)
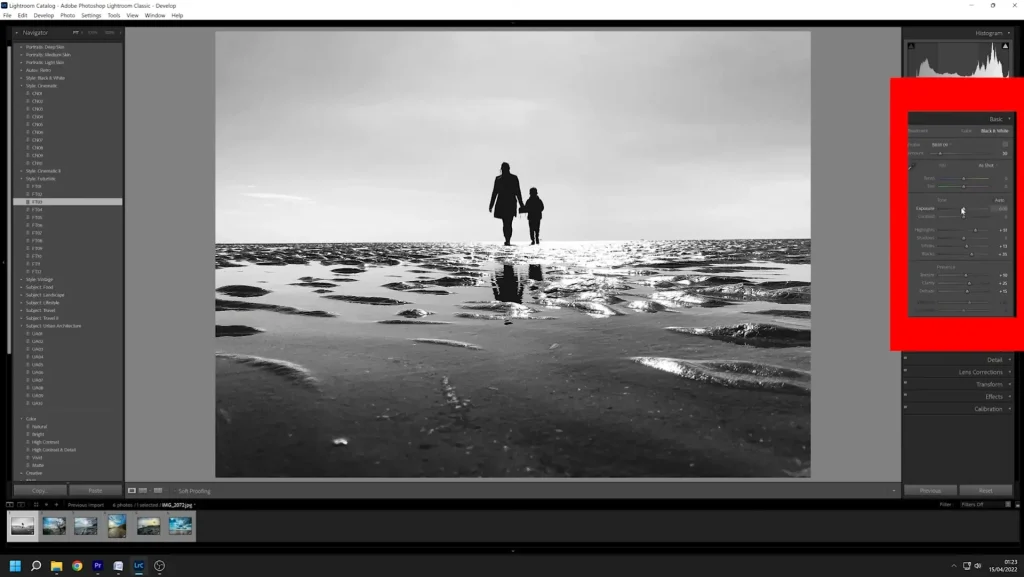
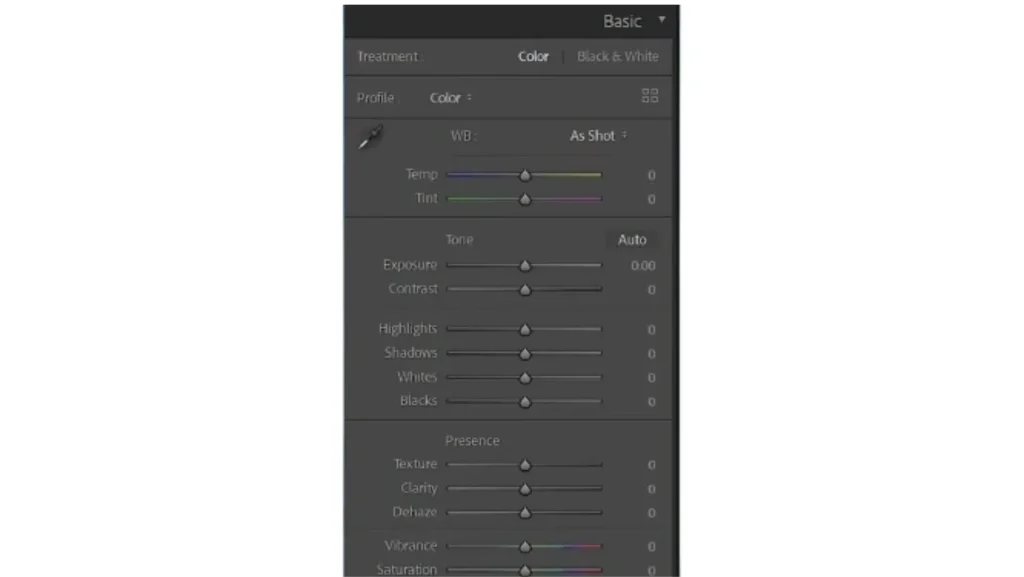
When you wish to repair blurry photos in Lightroom the basic and detailed panels are particularly useful the basic panel includes a white balance presence and tones they individually control different editing elements and allow you to perform all of the necessary adjustments on the photo. This tool is extremely effective and serves as the foundation for all the ensuing processing. After you’ve imported your image to the right sight panel look for the basic tab under the develop module.
The detailed panel is especially useful for refining blurry photos. On the other side, the details panel is ideal for finishing your edit when using the details panel carefully however too much sharpening can make your photography quite appear unnatural. The Noise reduction results in blurry-looking photos that are not much better than the blurry photo you’re attempting to fix.
Method no 6 (Using Radial and Graduated Filters)
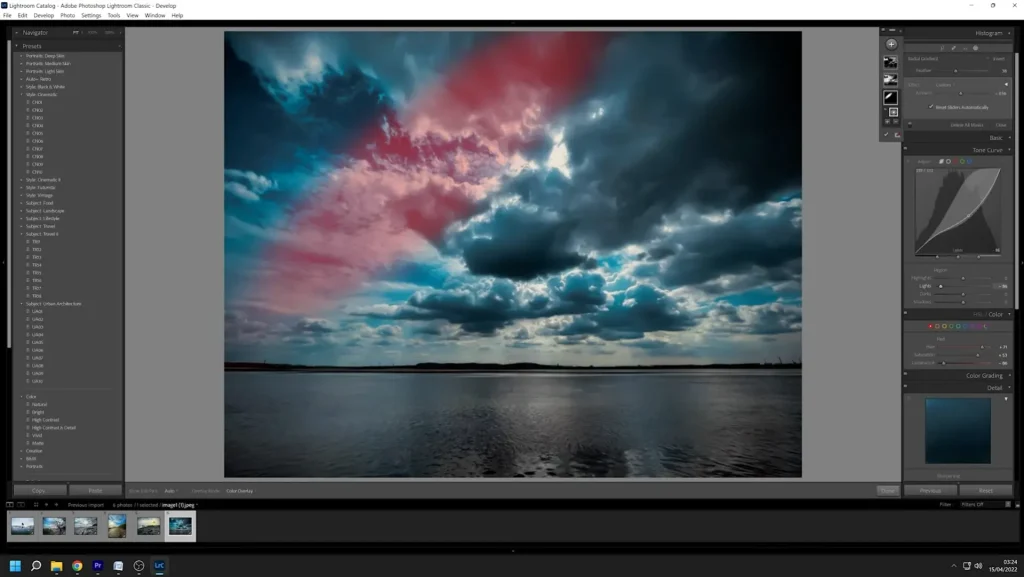
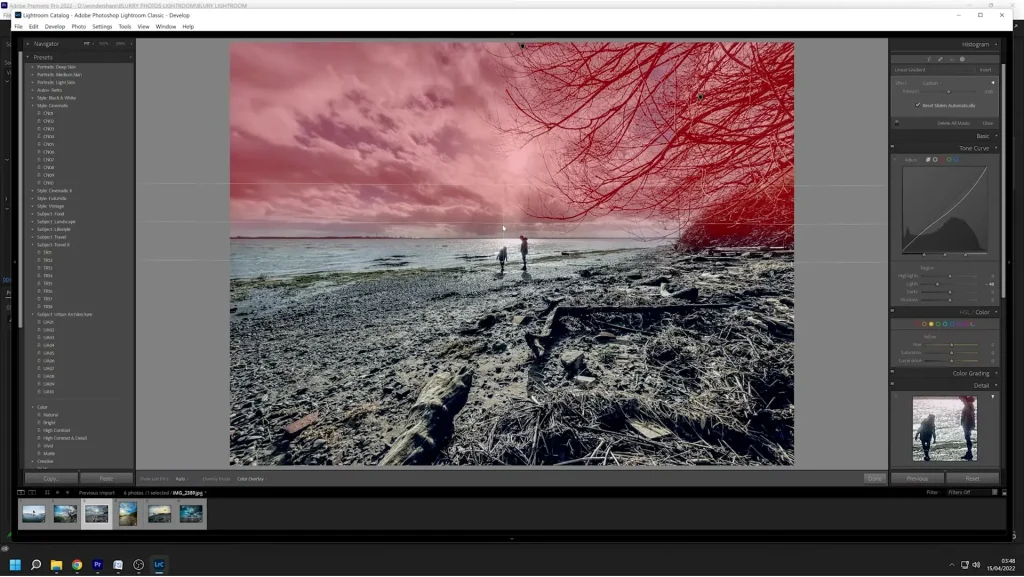
One of the greatest ways to fix Blurred Pictures in Lightroom is to use the radial filter it is quite flexible and you may use it to effectively brighten and darken sections of your images the radial filter can also add sun flares to photos plus can be used to soften skin tones in photographs. Moreover, this filter affects everything outside of the radial area the masking tools can help to lessen its effect.
The graduated filter is also a simple filter to use it’s a gray rectangle on the right sidebar of the improved module there are awesome graduated filters available and can select your favorites by dragging them across your photo. You can move the filter to the center circle on your image and then drag it to the desired location.
Method no 7 (Using Photo Repair Software)
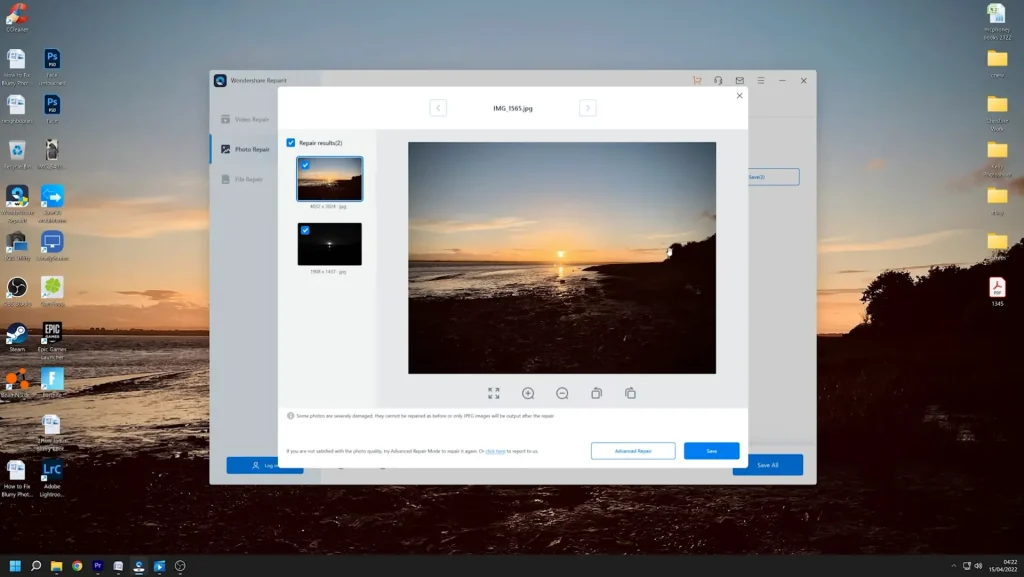
Another effective way of repairing glary photography is to utilize photo correction software. When it’s difficult to correct blurry images Lightroom photo repair software can help. Although there are lots of them available you want software that provides a comprehensive repair of your photos. Wonder Share software is the best tool out there that can help you with this it is a safe piece of software that is both simple to use and highly effective. It supports a variety of file formats so don’t have to worry about your file not being supported.
Frequently Asked Question(FAQS)
Conclusion
In conclusion!! I would like to say that following the steps mentioned above in this article you can improve the blurred effect of your photos by using this app. Additionally utilize the develop tool to reduce blur that may contribute to complexity. Experiment with adjustments carefully to look. You can always keep a backup of the creative image to preserve flexibility in editing. if you read more then you can move on to the Batch edit of your photos. Use the app and enjoy the photography moments.

I am the founder of lrapp.net, I am passionate about bettering your photography experience with our expertly crafted Lightroom mod APK. With years of experience in photography and digital editing, I aim to provide users with unparalleled tools to unlock their creativity. Join us on this journey to elevate your images and transform your editing skills!

