
You can Fix Underexposed Sunset Portrait in Lightroom Classic
Fixing an underexposed sunset portrait in Lightroom Classic includes careful stability of tunning color corrections and adjustments to come out with the best in both cases. As well as Integrating the graduate filter can be particularly effective in this scenario. I have a photo where that was taken at sunset at the end of the day. Moreover, you can easily add a watermark in Adobe Lightroom.
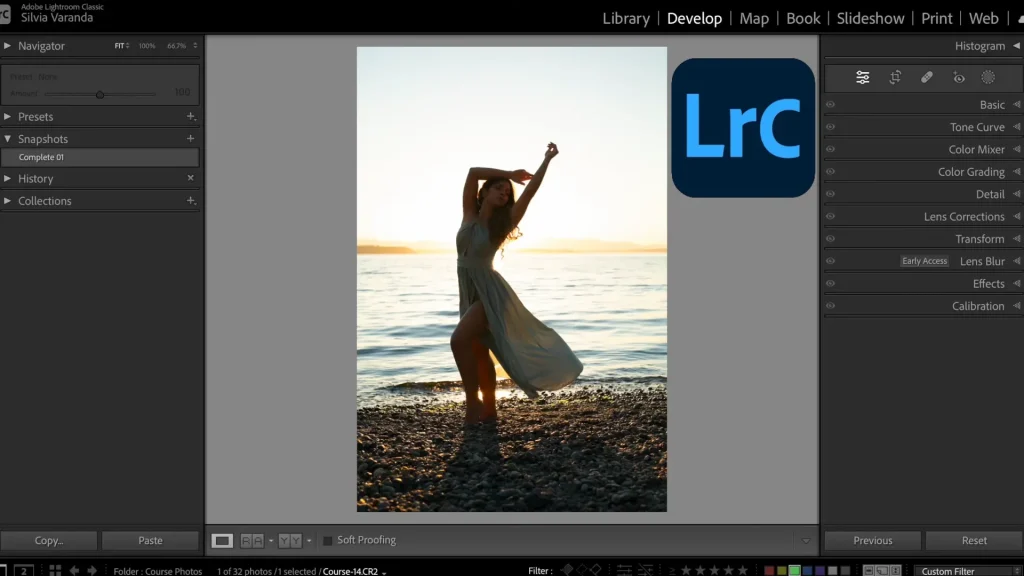
You can see that the exposure is not good the sky is way too bright the model is way too dark but we can easily fixed in Lightroom by the Lightroom masking tool. This technique allows you to create a dynamic balance between the visually captivating image, the portrait’s natural tones, and the vibrant hues of the sunset that truly capture the moment’s magic. Here are a few steps to easily follow and fix the Underexposed portrait.
4.9
APPROVAL
10.3.1
VERSION
Method no1:(Fixed to the Sky and the Background)
Simply select the masking here and you do not select any options that we have here (Subject, Sky, Background) so the first thing is you can fix the sky and the background. But if you select the sky then you can fix the lighting in the water as well so in this condition you are going back and you can select the linear gradient. I am creating a linear gradient and the idea of the linear gradient is that effects start fading away a little bit because I want to make this sky and the ” SE” here a little bit darker and I did not wish to the sand it’s not sand it’s a bunch of rocks.
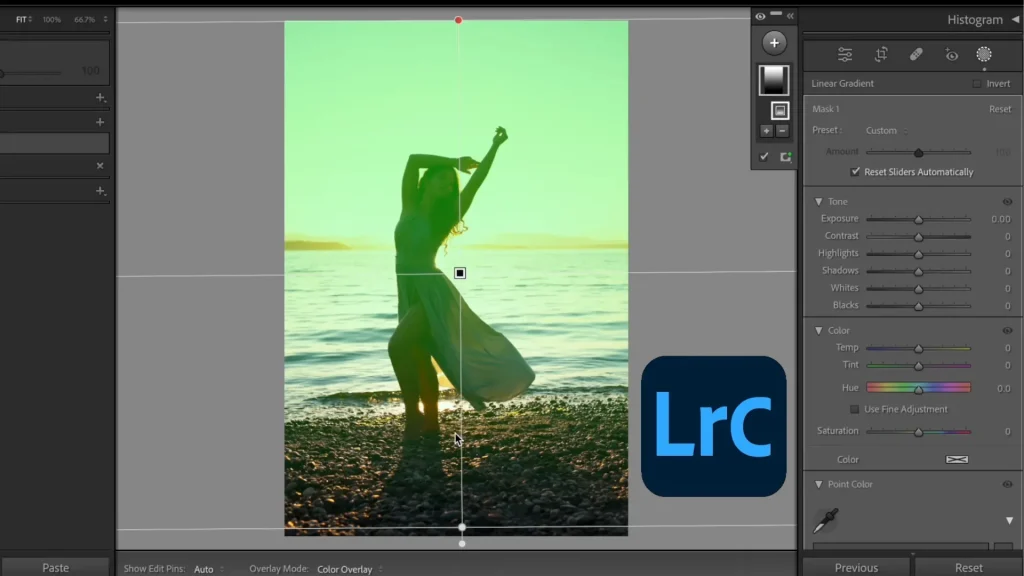
(You can Underexposed Sunset Select the Subtract Option)
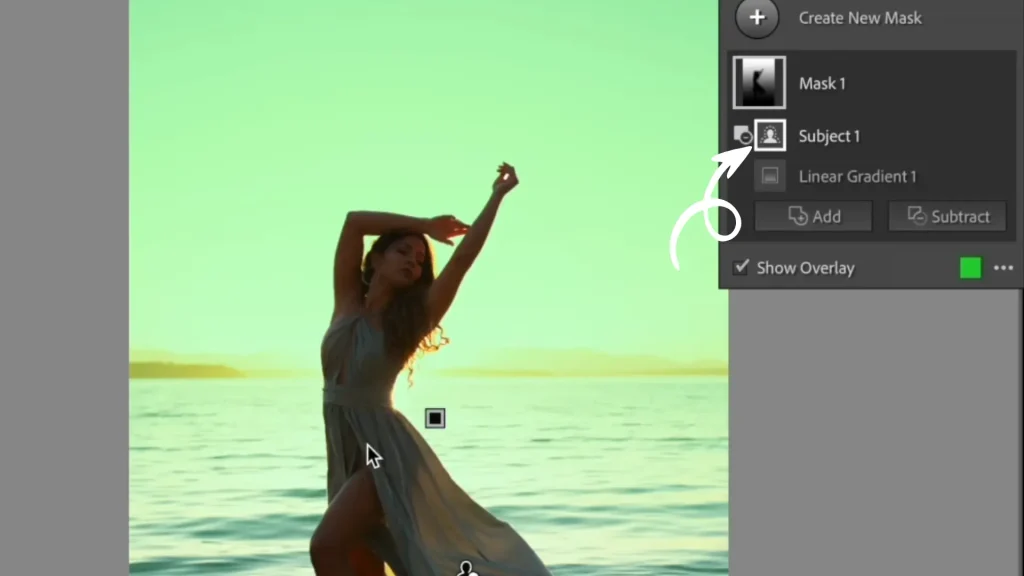
I did not want this part of the rocks to be darker so that’s why I am using linear light. One thing that I need to do here though is to remove the client from the photo. You can press the subtract option and select the subject and Lightroom Classic will automatically show me the subject here which is the model she has removed now from the photo.
Method no2:(Adjust Exposure,Contrast,Highlights Shadows ,White Balance)
(Step You can Adjust the Exposure)
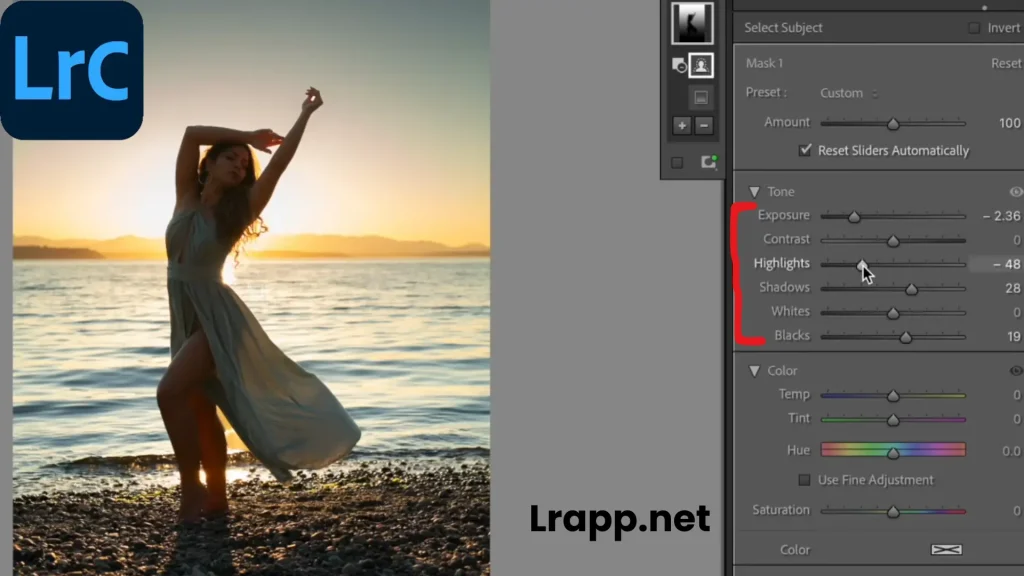
Go to the exposure and our module will not be affected so you just going to be lower with the exposure and you can go as low as you want for your photo easily. Increase the exposure slider gradually until the overall brightness of the image improves so be careful not to be overexposed to the highlights
(Step You can Adjust the Contrast)
Now you can see the sky and you can see more of the sea as well. You can increase the Contrast sliders slightly to add more definition to the image. This will help make the subject stand out
(Stepno3:Adjust the Highlights and Shadows)
I’m even with the going to go lower with the highlights a little bit. Draw the highlights slider to the left to recover details in the brighter parts of the image such as the sky. Another thing I am going to do with the shadows a little bit up with the blacks because I can see now that the sky is getting darker.
(Stepno4:You can White and Black Balanced)
I’m going to go lower with the white just a little bit not too much. Adjust the white balance to warm up the colors of the colors of the sunset if needed. You can easily drag the temperature slider to the right to add warmth and the color slider if it’s necessary to achieve a pleasing balance of color. and I’m going to up with the blacks and the shadows again.
Method no3:(Fine Tone with tone curve)
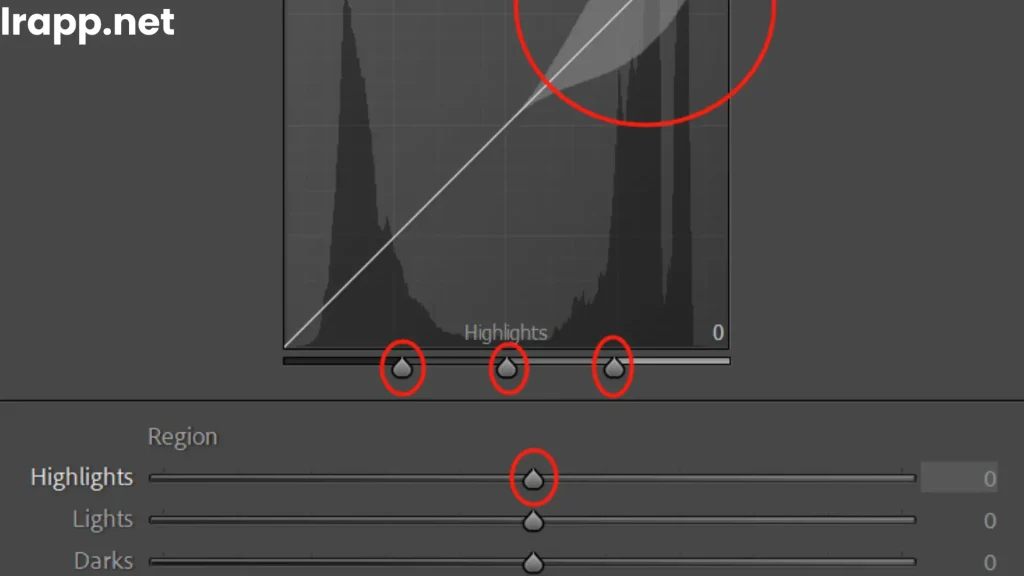
You can easily Underexposed Sunset use the tone curve to fine-tune the brightness and the contrast of a specific tone of the image. Moreover, you can adjust the curve to lift the milestones and shadows very slightly while maintaining the highlights.
Method no4:(Adjust Vibrance and Clarity)
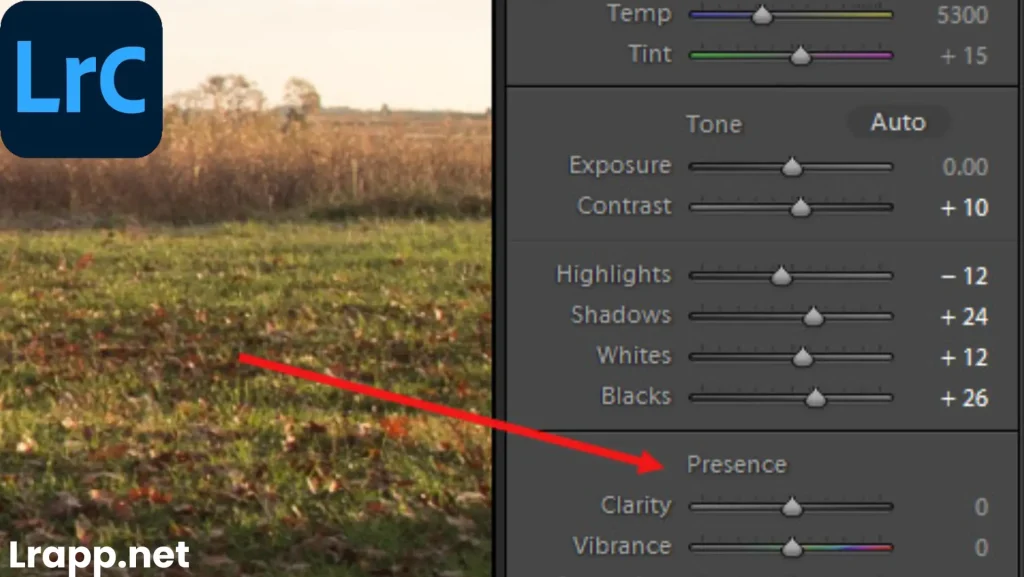
You can increase the clarity slider slightly to enhance the details in the particular image in the subject features then you can adjust saturation sliders and vibrance to bring out the colors in the sunset without oversaturating the image. If you read culling photos in Lightroom then you must move this post.
Method no5:(Sharpening and Noise Reduction)
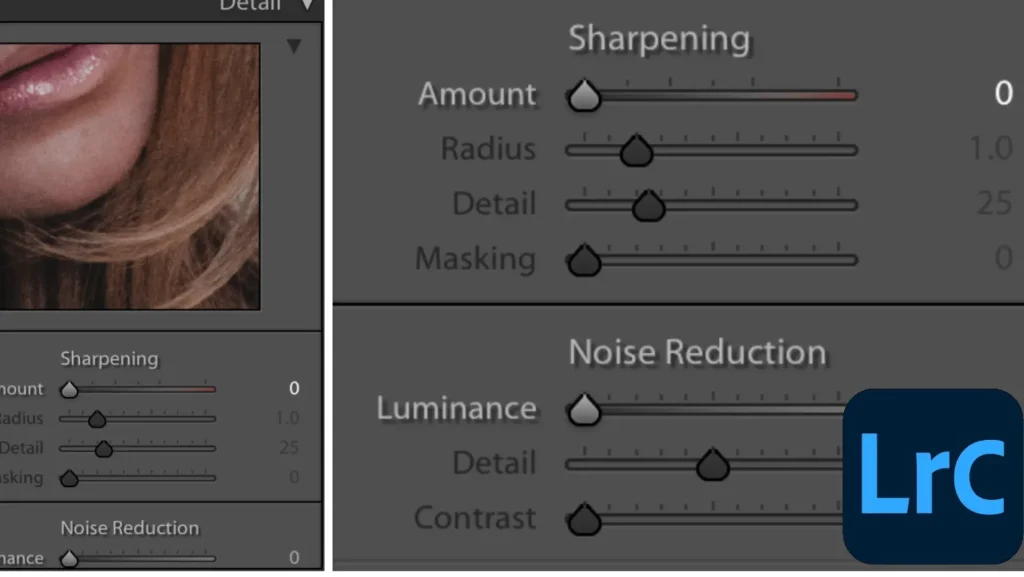
Apply sharpening to improve details, particularly in the subject feature then you can apply noise reduction if the Image appears noisy after adjusting exposure.
Frequently Asked Question(FAQS)
Conclusion
In Conclusion!! Fix Underexposed Sunset Portrait as you know in Lightroom Classic I hope you have read carefully the five methods fixed sky and background, Method 2: adjust contrast, method 3: fine tone method 4: vibrance, and last method sharpening and noise reduction that I have mentioned above and I believe that you can apply all the methods and easily fix your photos. If you want to use the Adobe Lightroom Pro app then you can easily use it here.

I am the founder of lrapp.net, I am passionate about bettering your photography experience with our expertly crafted Lightroom mod APK. With years of experience in photography and digital editing, I aim to provide users with unparalleled tools to unlock their creativity. Join us on this journey to elevate your images and transform your editing skills!


